I made four separate sets, one for both teachers I work with at Canyon View, one for Sydney, and one for me.
I made these back in like September/October and had plans to give them away from Christmas.
Only problem was the paper was falling off so I had to reassemble them the day before I gave them out.
[I had good intentions of having them done early though!]
Two sets had the same paper as above, one with black blocks and one with brown blocks.
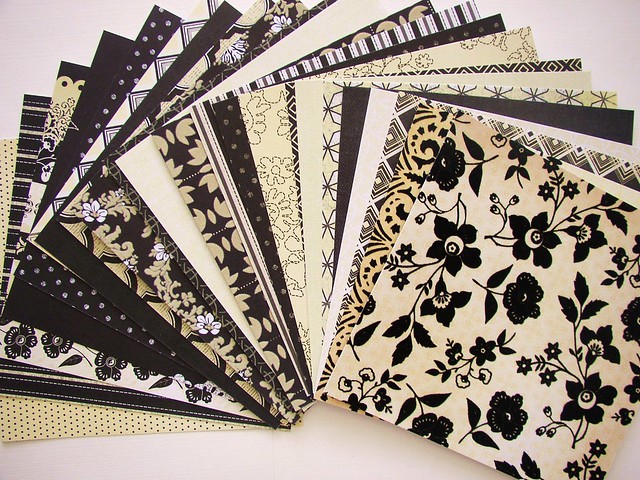
The other two sets had a different paper design and were on black blocks and white blocks.
I had so much fun making them... it was time consuming. (Mostly just the sanding).
I don't know how everyone else does it, but every time I modge podge paper it doesn't stay flat, it gets crinkly or wavy. So I had to do the paper separate, then flatten them in a book, and then spray adhesive them on.
Am I missing something with Modge Podge?
Anyways, I love the end result.. don't you?
I didn't take any pictures while making them, but here is a brief description:
1: Cut a 4x4 into a square blocks .. I made Home Depot do this for me. They didn't even charge per cut! [Just so you know, even though it says 4x4 in the name, its really like 3.5 x 3.5... you need two for each calendar you do.]
2: Cut a 2 x 4 at 8 inches. This gives you a little overhang on each side of the blocks.
3: Sand your blocks so that they all have round corners. I used a palm sander (you may have to take breaks, or you will feel like your hand is falling off). This was probably the longest part of the process for me.
4: Spray paint your blocks with your color of choosing. Let dry. (It doesn't have to be perfect because the numbers will cover up the middle and the corners will be sanded)
5: Sand the corners to give them an antiqued look. (At this point you could also stain them, but I didn't put in the effort for that.)
6: Cut out squares with cute scrapbook paper (The Cricut or other die cutting machine comes in handy for this.)
7: Cut out numbers: Block 1 : 0, 1, 2, 3, 4, 5 Block 2: 0, 1, 2, 6, 7, 8 (the six will double as a nine!)
8: Modge Podge the numbers to the squares. After I covered them with a hefty coat, I let them dry on a cookie cooling rack. * I used two squares from each pattern, make sure that you use numbers from two different blocks so that you don't have the same paper twice on one block. *
9: When the squares are dry, most likely they will have curled up. Put them in a book so that they flatten out.
10: While the squares are flattening out, hop on your computer and print out the months on cardstock. I used some cute handwriting fonts from
Kevin and Amanda (Totally cute and free).
11: Layer them over another piece of cardstock to give them an outline. (You could modge podge them too, but I didn't want to risk my ink spreading.) On my colored blocks I used just black or brown to match, but on the black/creme blocks I used the coordinating paper for the background layer.
12: Put velcro on the back of each month and in the middle of the 2x4x8 block. (Make sure all the months have either the scratchy or soft side. The block will have on piece of the opposite. You don't want to end up with months that don't stick!!)
13: Remove the number squares from your book and separate them for which numbers go on which block. Spray adhesive them onto the wood blocks.
14: You're done!! You have some cute calendar blocks to keep at home or in a classroom!


![[dear:]miss.brylie](http://4.bp.blogspot.com/-nVYeMpskiNc/U9botNf_IQI/AAAAAAAADxc/3oznebnu6Ys/s1600/Dear%2BBrylie%2BPlain.png)


